Do you want to change block height and width in WordPress?
By default, WordPress makes it easy to create beautiful content layouts for your posts and pages using blocks. However, sometimes you may want to resize blocks to make them look better.
In this article, we will show you how to easily change block height and width in WordPress.
Why Change Block Height and Width in WordPress?
The block editor enables you to add content to your WordPress website using different blocks, including headings, paragraphs, images, videos, audio, and more.
However, sometimes you may want to change the width or height of a specific block to improve its appearance or the layout of the overall content.
Adjusting block sizes can also ensure that your content is responsive and displays properly on all devices, including phones, tablets, and laptops.
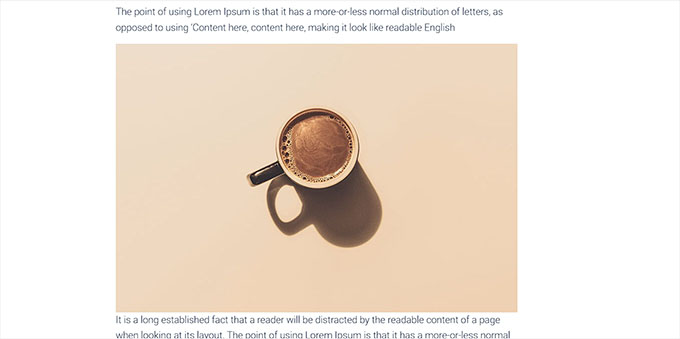
For example, you may have uploaded an image in the content editor, but it is too large and makes the page look unappealing.
Or, you might want to change the size of the heading block to align it better with the content.
By adjusting the width and height of the blocks, you can make your posts and pages look more aesthetically pleasing.
That being said, let’s see how you can easily change block height and width in WordPress.
Method 1: Change the Block Height and Width Using Block Settings
For this method, we will show you how to change a block’s height and width using the default settings offered by WordPress.
Currently, WordPress does not offer the same resizing options for all of the blocks. However, the block editor provides many ways to resize the height and width of different blocks.
Let’s start with the Image block in WordPress.
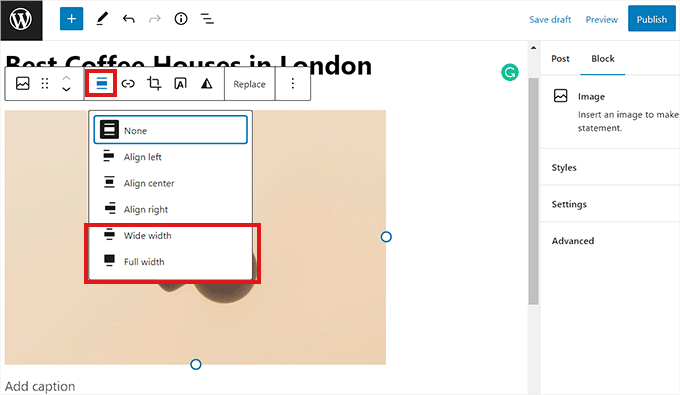
First, you can change the alignment of the Image block by clicking on the ‘Align’ button in the toolbar above the block.
Here, choosing the ‘Wide Width’ option will make the block the same width as the container.
Or, the ‘Full Width’ alignment option will make the block the entire width of the page.
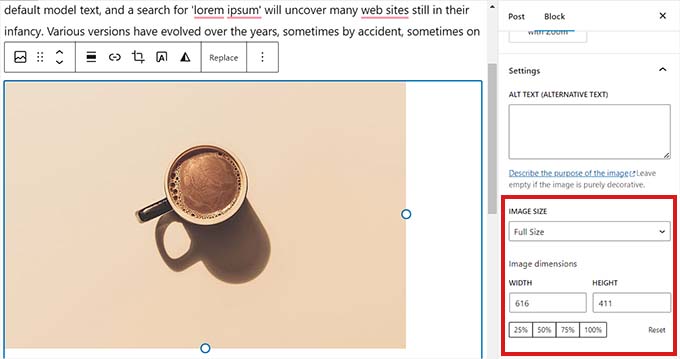
You can also resize a block by going to the ‘Block Settings’ panel on the right and scrolling down to the ‘Settings’ section. From here, you can resize a block from the ‘Image Size’ dropdown menu.
You can also adjust the block’s width and height by typing the preferred pixel size into the ‘Width’ and ‘Height’ boxes in the ‘Image dimensions’ section.
Below that, you can also adjust the block’s size by percentage.
Another way to resize an Image block is by clicking on the image itself to bring up a blue border with circular anchors.
Then, simply drag these anchors to change the height and width of the image block.
Once you are done, click on the ‘Update’ or ‘Publish’ button to store your settings.
Method 2: Change the Block Height and Width Using the Columns Block
If the block you want to resize does not come with alignment buttons or resize settings, then this method is for you.
For this method, we will place our block inside the Columns block. It acts as a container where you can add blocks in each column. Then, you can resize those blocks by adjusting the height and width of the columns.
First, you will need to click on the ‘Add Block’ (+) button in the top left corner of the screen.
From here, simply locate and add the Columns block to the content editor. Then, you will be asked to choose a variation.
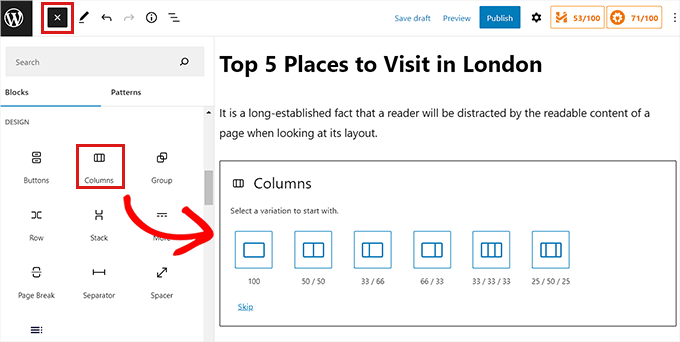
After that, the column layout will be displayed on the screen, and you can now add the block you want by clicking on the ‘Add Block (+)’ button inside a column.
Once the block has been added, you can resize it by using the ‘Column settings’ located in the right panel.
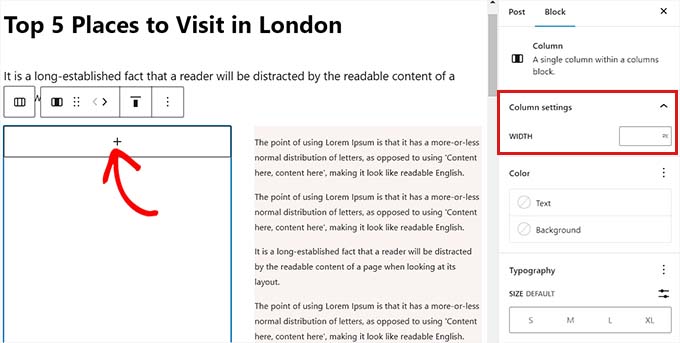
Once you are done, simply click the ‘Publish’ button to store your changes.
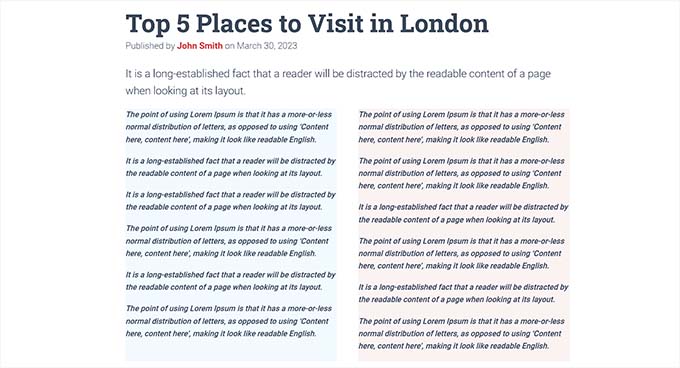
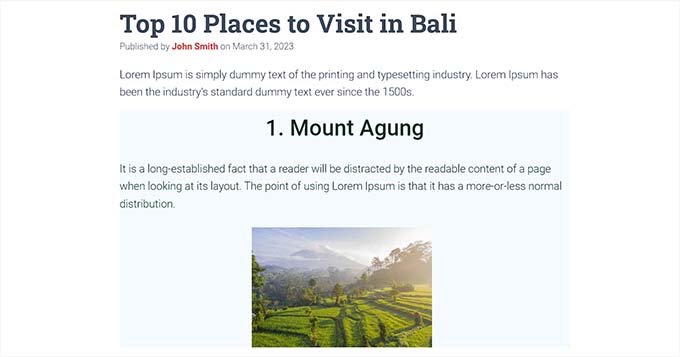
This is how the content looked on our demo website after resizing and aligning two paragraph blocks inside a two-column block.
Method 3: Change the Block Height and Width Using the Group Block
You can also adjust the width and height of blocks using the Group block. It allows you to group different blocks and style them together.
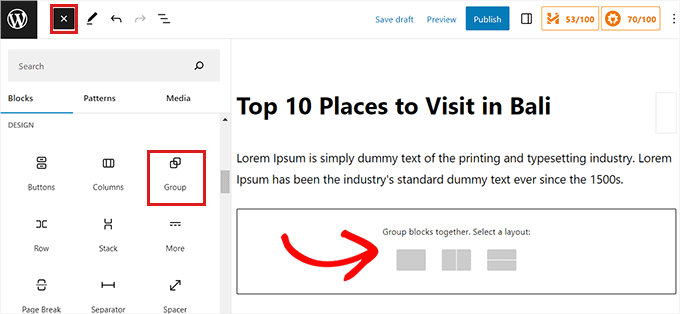
First, you will need to click on the ‘Add Block’ (+) button at the top. Next, you must locate and add the Group block to the content editor.
Once you do that, the Group block will display three different layout options that you can choose from. For this tutorial, we will use the ‘Group’ layout.
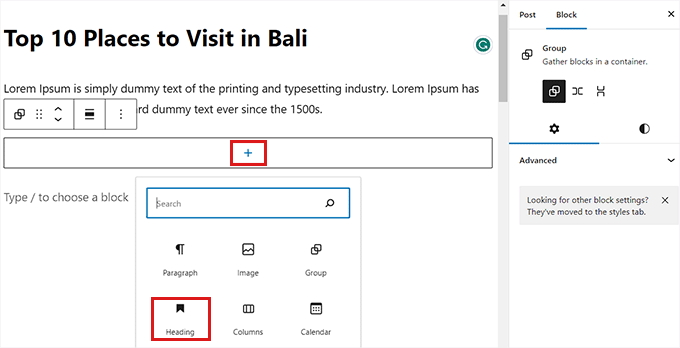
After that, the ‘Add Block’ button will be displayed on the screen. You can now add any block you want.
In this tutorial, we will be adding and resizing a Heading block, a Paragraph block, and an Image block.
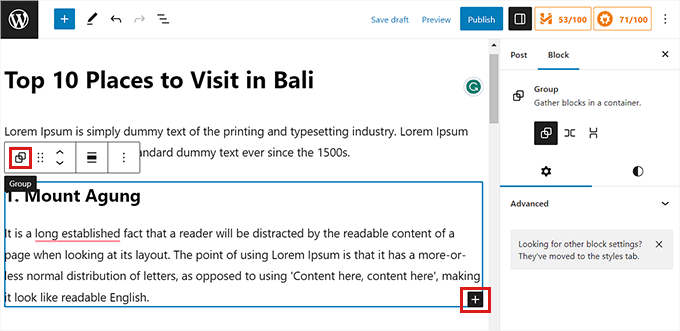
To add multiple blocks to the Group, you must click on the ‘Select Group’ button from the block toolbar.
Once the Group is selected, simply click on the ‘Add Block’ button (+) at the bottom.
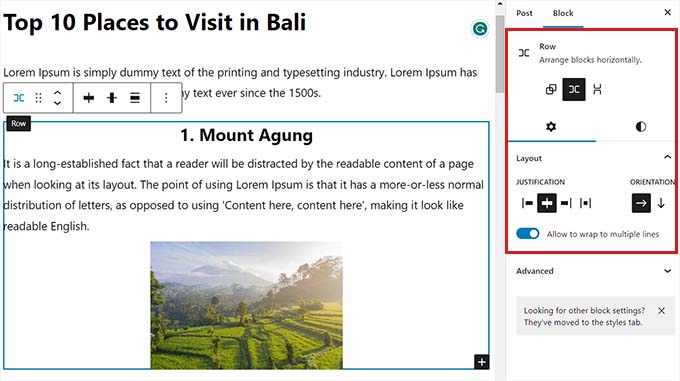
Clicking on the ‘Select Group’ button also opens up the block settings in the right column. From here, you can easily adjust the layout, justification, and orientation of all the blocks.
Changing the layout will also change the different block sizes. You can configure these settings until you are happy with the result.
Once you are done, click on the ‘Update’ or ‘Publish’ button to store your settings.
This is how the Group block looked on our demo website.
Method 4: Change the Block Height Using the Cover Block
This resizing method is for you if you want to use the Cover block. It enables you to display text and other content on top of an image or video.
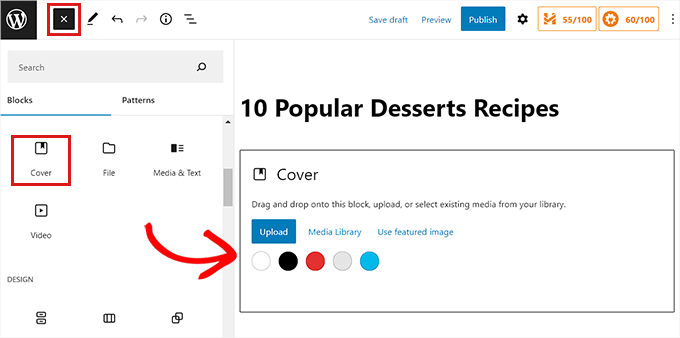
First, you will need to click on the ‘Add Block’ (+) button at the top and find the Cover block.
Once you have done that, you will be asked to choose a color or upload an image from the WordPress media library. This image or color will be used as the background for the Cover block.
Next, simply drag and drop any block you want into the Cover block.
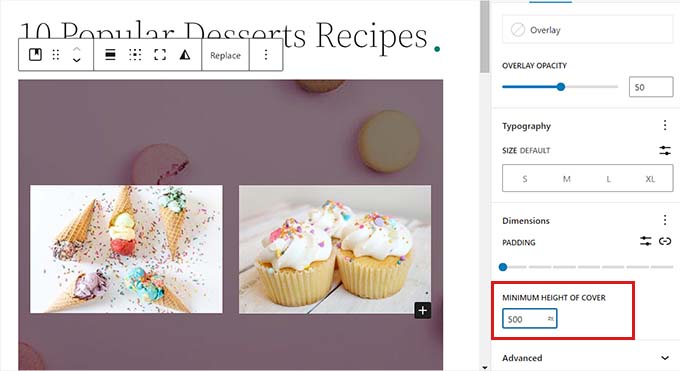
After that, you need to click on the Cover block to open up its block settings in the right column.
From here, scroll down to the ‘Dimensions’ panel, where you can adjust the height of the Cover block using pixels.
Finally, don’t forget to click on the ‘Save Changes’ button to store your settings.
For more detailed instructions on how to use the Cover block, you may want to see our beginner’s guide on Cover Image vs. Featured Image in the WordPress block editor.
Bonus: Create Beautiful Pages Using Advanced Blocks in SeedProd
You can easily create beautiful and aesthetically-pleasing pages using the SeedProd plugin.
It is the best WordPress page builder on the market that allows you to create landing pages using blocks. These blocks are also super easy to customize and resize according to your needs.
First, you will need to install and activate the SeedProd plugin. For more details, you can read our guide on how to install a WordPress plugin.
Note: SeedProd also offers a free version, but we will be using the premium version for this tutorial.
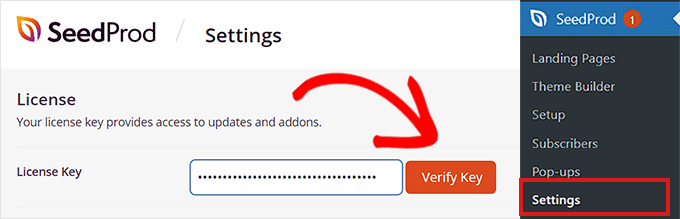
Upon activation, you must go to the SeedProd » Settings page from your WordPress dashboard and enter the license key in the ‘License Key’ box.
You can find the license key on your account page on the SeedProd website.
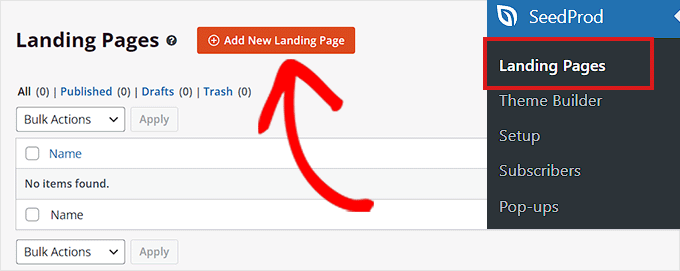
Next, you need to visit the SeedProd » Landing Pages screen from the admin sidebar to start creating a landing page.
From here, just click on the ‘Add New Landing Page’ button.
You will now be taken to the ‘Choose a New Page Template’ page. SeedProd offers many pre-made templates that you can pick from.
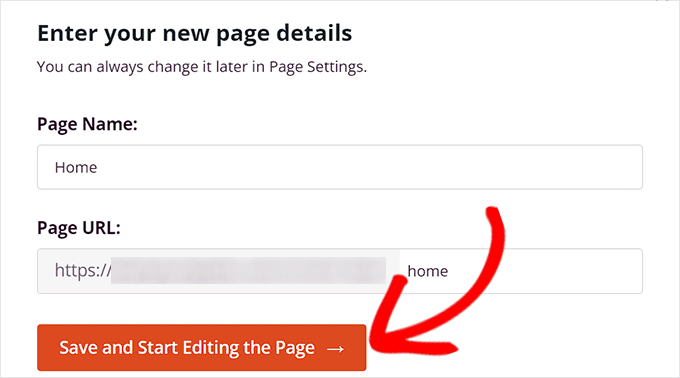
After you have selected a template, you will be asked to provide a name and URL for your landing page.
Upon adding these details, simply click on the ‘Save and Start Editing the Page’ button to continue.
This will launch SeedProd’s drag-and-drop page builder, where you can now start editing your page.
For more detailed instructions, please see our guide on how to create a landing page with WordPress.
For this tutorial, we will be adding and resizing an Image block and a Button block.
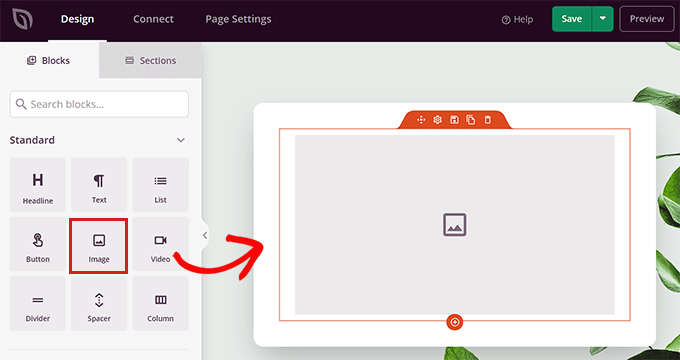
First, you will need to drag the Image block from the block panel on the left and drop it anywhere you like on the page.
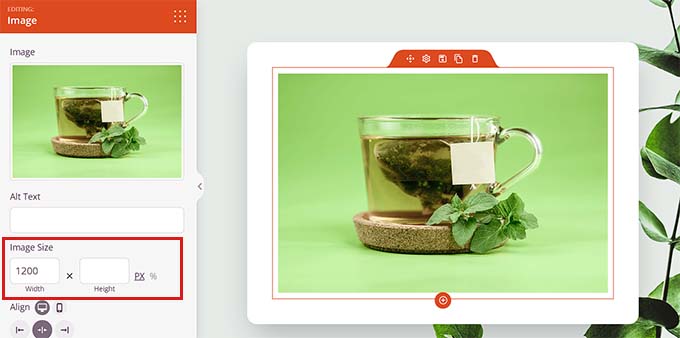
Next, simply click on the Image block to open its block settings in the left column. From here, you can upload an image from your media library.
Next, you can change the block’s height and width using pixels or percentages.
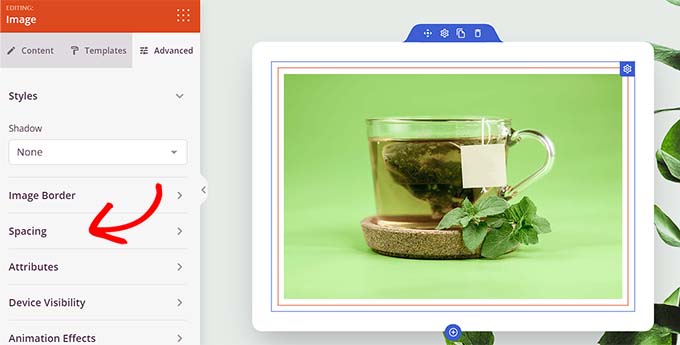
You can also adjust the image size and position by switching to the ‘Advanced’ tab at the top of the settings panel.
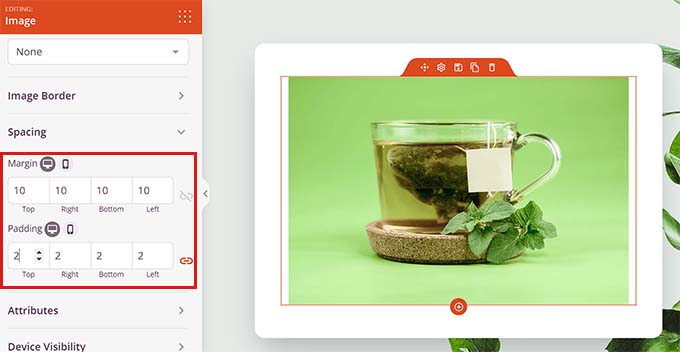
Then, just click on the Spacing panel to expand its settings.
Here, simply add values to adjust the block’s margin and padding according to your needs.
You can adjust the margin and padding for the top, bottom, left, and right areas of the block.
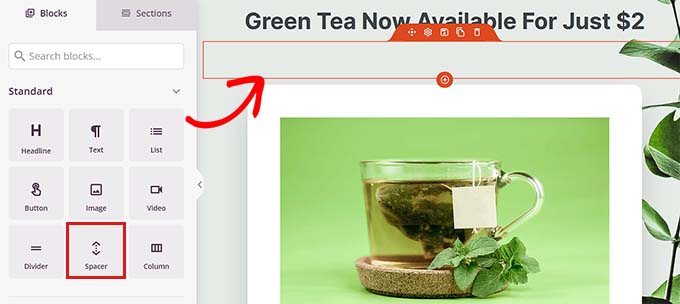
With Seedprod, you can also add a Spacer block between two different blocks to put some space between them.
First, you will need to locate and add the ‘Spacer’ block from the left column. Then, click on it to open its settings.
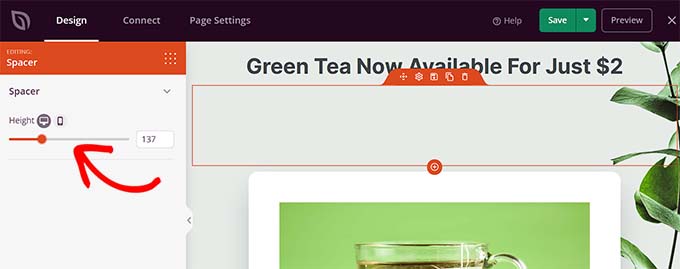
Now, you can control the height of the spacer using the ‘Height’ slider.
The spacer block can help you create a clutter-free website.
You can also change the width and height of other blocks in the same way, including the Video, Heading, and Button blocks.
Simply find the Button block in the left column and drag it onto your page.
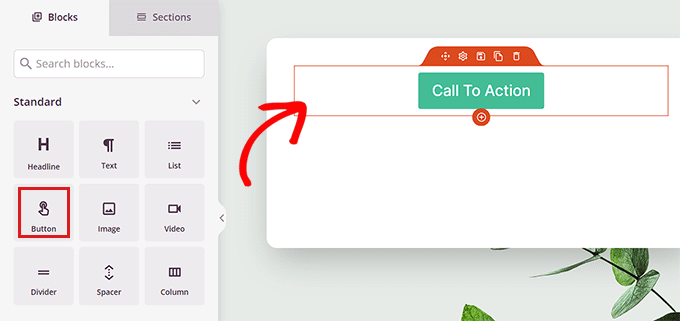
Next, you will need to click on the Button to open up its block settings.
From here, switch to the ‘Advanced’ tab from the top. You can change the height of the block by dragging the ‘Vertical Padding’ slider.
To change the width, drag the ‘Horizontal Padding’ slider in the left column.
Once you are done, don’t forget to click on the ‘Save’ button.
We hope this article helped you learn how to change block width and height in WordPress. You may also want to see our article on how to add and align images in the WordPress block editor and our top picks for the must-have WordPress plugins to grow your site.
If you liked this article, then please subscribe to our YouTube Channel for WordPress video tutorials. You can also find us on Twitter and Facebook.
The post How to Change Block Height and Width in WordPress first appeared on WPBeginner.