Do you want to create and manage an ads.txt file in WordPress?
If your website gets caught up in fraudulent advertisements, then it can damage your reputation and cost you money. By adding a simple ads.txt file to your website, you can protect your site, partners, and publishers from advertising fraud, and possibly increase your ad revenue.
In this article, we will show you how to easily create and manage an ads.txt file in WordPress.
Why Create and Manage Ads.txt files in WordPress?
Selling advertising space is a great way to make money online blogging with WordPress. However, online advertising fraud is also a huge problem for both brands and website owners.
Let’s look at an example. Imagine a brand wants to place an ad on your WordPress website. They find a seller who claims they have a relationship with you, and can place advertisements on your website.
This third party might be one of your approved partners, or they might be committing online advertising fraud by selling unauthorized ads.
If your site gets caught up in advertising fraud, a third party may buy advertising space on your website and then resell it without your approval. This can lead to spammy or malicious advertisements on your WordPress blog.
Here, an ads.txt file can help keep your site safe.
Ads.txt file stands for ‘Authorized Digital Seller.’ It was developed by IAB Tech Lab to help stop fraud in online advertising. In this file, you can list all the companies that have permission to sell advertising space on your website.
An ads.txt file is publicly available, so advertisers, publishers, and resellers can use it to check that they’re dealing with an approved company.
If you sell ads on your WordPress blog using Google Adsense, DoubleClick, or Ad Exchange, then we recommend adding an ads.txt file to your site.
With that being said, let’s see how you can create and manage an ads.txt file in WordPress.
How to Create and Manage Ads.txt Files in WordPress
The easiest way to create an ads.text file is by using Ads.txt Manager. This free plugin adds a simple code editor where you can type in all your authorized platforms and networks.
The first thing you need to do is install and activate the Ads.txt Manager plugin. For more details, see our step-by-step guide on how to install a WordPress plugin.
Upon activation, head over to the Settings » Ads.txt page.
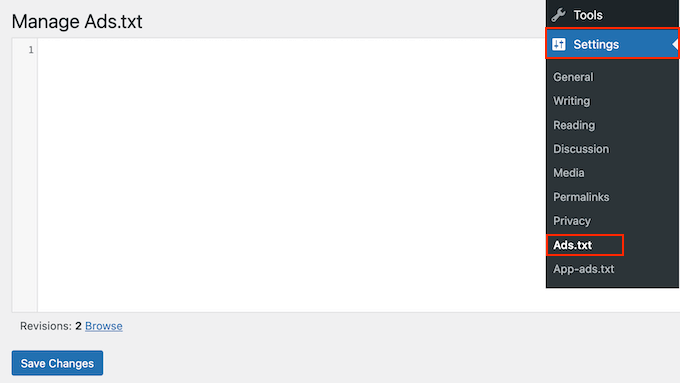
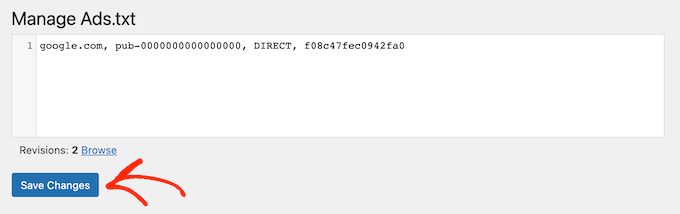
This opens a simple code editor where you can add each platform or reseller on its own line. For example, here we’re adding Google AdSense as an approved advertising platform:
The first field is the domain of the company that is allowed to sell or resell your ad inventory. In the above example, that’s google.com.
After that, you’ll add the publisher ID, which is unique to your account. If you’re not sure where to find this ID, then you can check the network or platform’s online documentation for more information.
The third section declares the relationship type, which is either DIRECT or RESELLER. Direct means the publisher works directly with the AdTech vendor. Meanwhile, reseller means the publisher has authorized a third party to resell on their behalf, such as an ad network or ad management solution.
The last field is the ID of the advertising platform, which is optional.
You can now add as many platforms and resellers as you want. Simply add each organization on its own line.
When you’re happy with the information you’ve entered, click on the ‘Save Changes’ button.
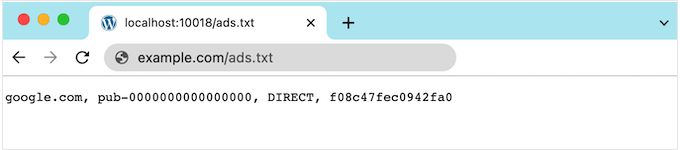
Now, anyone can read your site’s ads.txt file.
To see the file in action, simply add ads.txt to the end of your domain name, such as www.example.com/adds.txt
Fixing the ‘Earnings at risk Error’ in Adsense
If you use Google AdSense, then you may see the following error in your AdSense account:
Earnings at risk – One or more of your ads.txt files doesn’t contain your AdSense publisher ID. Fix this now to avoid severe impact to your revenue.
This just means your ads.text file doesn’t have the right publisher ID.
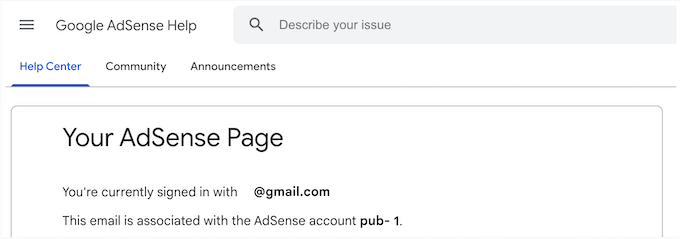
To fix this issue, log into your AdSense page using your Google email address and password. You’ll find the ID next to the following field: ‘This email is associated with the AdSense account.’
Now, simply go to Settings » Ads.txt in your WordPress dashboard and find the line that adds Google AdSense as an authorized provider.
You can now change the text so that it uses the right ID.
After that, don’t forget to click on ‘Save Changes’ to store your settings. Now if you visit your Google AdSense account again, the error message should have disappeared.
We hope this tutorial helped you learn how to create and manage ads.txt files in WordPress. You may also want to learn how to increase your blog traffic or check out our expert pick of the best WordPress popup plugins.
If you liked this article, then please subscribe to our YouTube Channel for WordPress video tutorials. You can also find us on Twitter and Facebook.
The post How to Create and Manage Ads.txt files in WordPress first appeared on WPBeginner.