Do you want to fade images on mouseover in WordPress?
A simple fade-in or fade-out animation when a user moves their mouse over an image can make your site more engaging. It also encourages visitors to interact with your content, which can keep them on your site for longer.
In this article, we’ll show you how to add a fade image effect on mouseover in WordPress.
Why Fade Images on Mouseover in WordPress?
Animations are an easy way to make your website more interesting, and can even draw the visitor’s attention toward your page’s most important content, such as your website logo or a call to action.
There are lots of different ways to use CSS animations in WordPress, but adding a hover effect to images is particularly effective. The fade animation means your images will slowly appear or disappear when visitors hover over them.
This encourages people to interact with your images, and can even add a storytelling element to the page. For example, different images might fade in and out as the visitor moves around the page.
Unlike some other animations, the fade image on mouseover effect is subtle so it won’t negatively impact the visitor’s reading experience or any image optimization you’ve done.
With that said, let’s show you how to add a fade to your images on mouseover in WordPress.
Adding Image Fade on Mouseover to all WordPress Images
The easiest way to add a fade effect to all your images is by using WPCode. This free plugin allows you to easily add custom code in WordPress without having to edit your theme files.
With WPCode, even beginners can edit their website’s code without risking mistakes and typos that can cause many common WordPress errors.
The first thing you need to do is install and activate the free WPCode plugin. For more details, see our step-by-step guide on how to install a WordPress plugin.
Upon activation, head over to Code Snippets » Add Snippet.
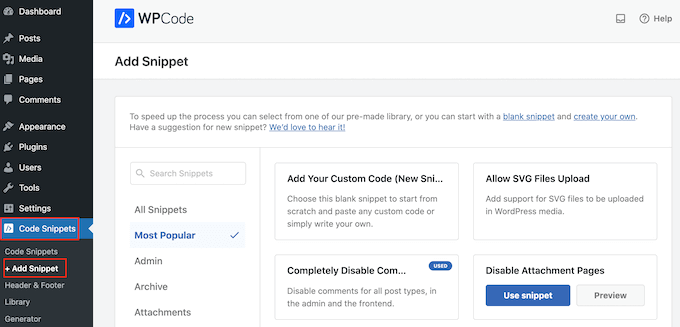
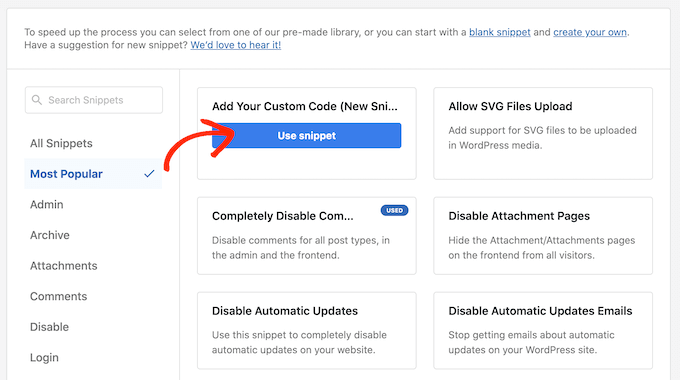
Here, simply hover your mouse over ‘Add Your Custom Code.’
When it appears, click on ‘Use snippet.’
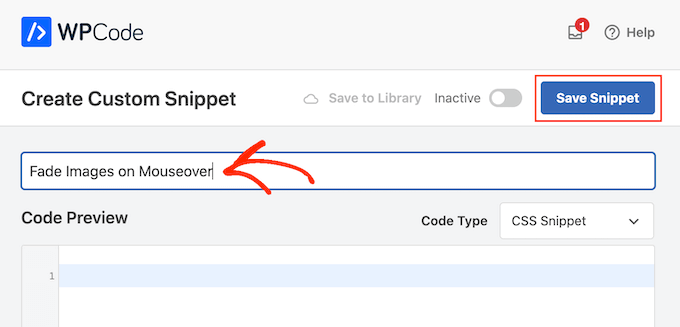
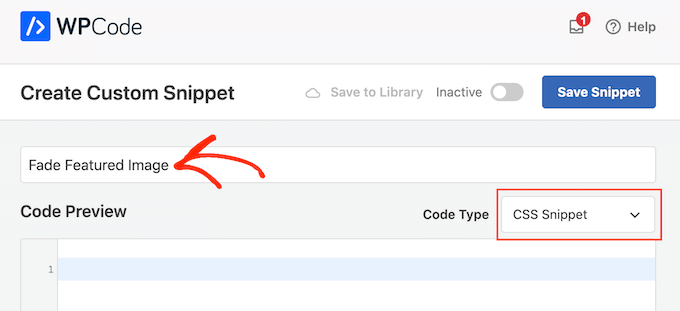
To start, type in a title for the custom code snippet. This can be anything that helps you identify the snippet in the WordPress dashboard.
We need to add custom CSS to WordPress, so open the ‘Code Type’ dropdown and select ‘CSS Snippet.’
In the code editor, add the following code snippet:
opacity:0.6;
filter:alpha(opacity=60); /* For IE8 and earlier */
-webkit-transition: all 2s ease;
-moz-transition: all 2s ease;
-ms-transition: all 2s ease;
-o-transition: all 2s ease;
transition: all 2s ease;
}
This code snippet will fade each image for 2 seconds when the user hovers their mouse over it. To make the image fade slower, simply replace ‘2s ease’ with a higher number. If you want to make the picture fade faster, then use ‘1s ease’ or smaller.
You can also make the ‘opacity’ higher or lower by changing the opacity:0.6 line.
If you change any of these numbers then make sure you change them across all the properties (webkit, moz, ms, and o), so the fade effect looks the same on every browser.
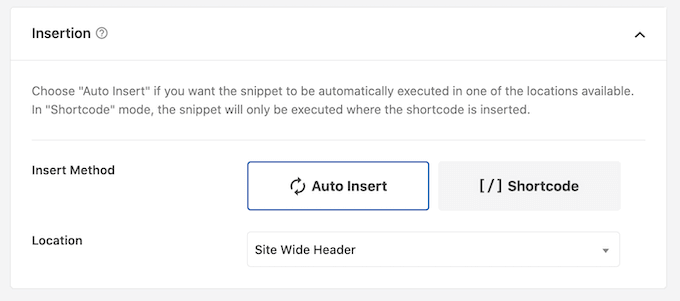
When you’re happy with the snippet, scroll to the ‘Insertion’ section. WPCode can add your code to different locations, such as after every post, frontend only, or admin only.
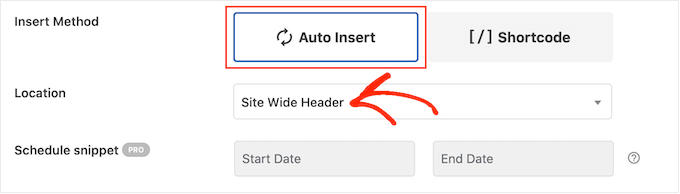
To add a fade effect to all your images, click on ‘Auto Insert.’ Then, open the ‘Location’ dropdown menu and choose ‘Site Wide Header.’
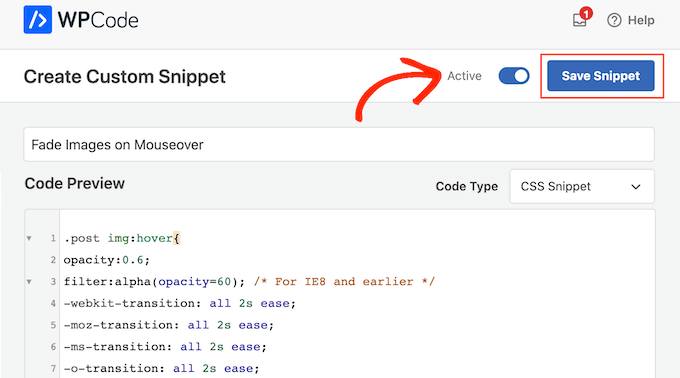
After that, you’re ready to scroll to the top of the screen and click on the ‘Inactive’ toggle, so it changes to ‘Active.’
Finally, click on ‘Save Snippet’ to make the CSS snippet live.
Now, if you hover the mouse over any image on your WordPress website, you’ll see the fade effect in action.
Adding Image Fade Animations to Individual Pages
Using a fade effect for every single image can become distracting, especially if you’re running a photography website, a stock photo store, or any other site that has lots of images.
With that in mind, you may want to use fade effects on a specific page or post only.
The good news is that WPCode allows you to create custom shortcodes. You can place this shortcode on any page, and WordPress will show fade effects on that page only.
To do this, simply create a custom code snippet and add the fade animation code following the same process described above. Then, click on the ‘Save snippet’ button.
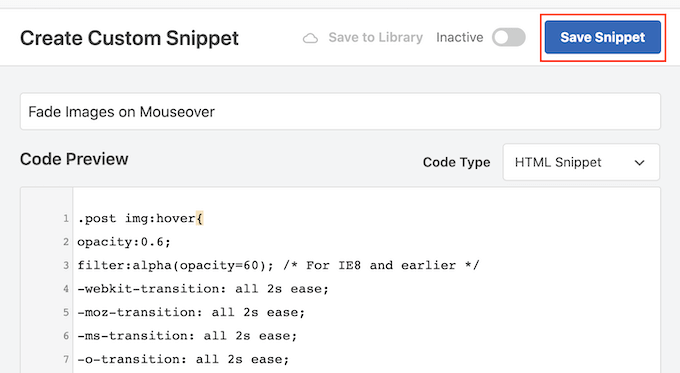
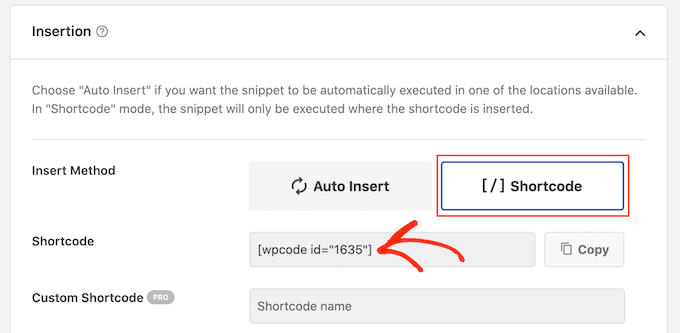
After that, scroll to the ‘Insertion’ section, but this time select ‘Shortcode.’
This creates a shortcode that you can add to any page, post, or widget-ready area.
After that, go ahead and make the snippet live following the same process described above.
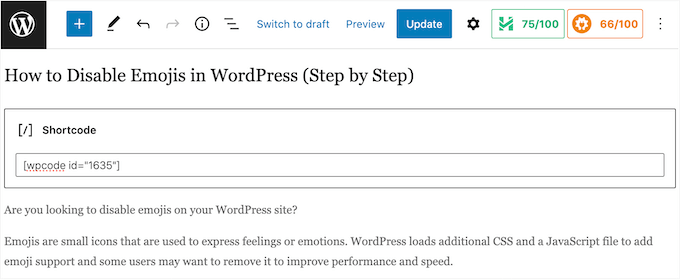
You can now go to any page, post, or widget-ready area and create a new ‘Shortcode’ block. Then, simply paste the WPCode shortcode into that block.
For more information on how to place the shortcode, please see our guide on how to add a shortcode in WordPress.
With that done, either click on the ‘Update’ or ‘Publish’ button to make the shortcode live. You can then visit that page, page, or widget-ready area to see the fade on mouseover effect.
Adding Image Fade Animations to Featured Images
Another option is to add fade animations to your featured images or post thumbnails. These are the post’s primary image and they often appear next to the heading on your home page, archive pages, and other important areas of your website.
By fading featured images on mouseover, you can make your site more eye-catching and engaging, without animating every single image across your WordPress blog or website.
To add a fade animation to your post thumbnails, simply create a new custom code snippet following the same process described above.
However, this time add the following code to the editor:
opacity:0.6;
filter:alpha(opacity=60); /* For IE8 and earlier */
-webkit-transition: all 2s ease;
-moz-transition: all 2s ease;
-ms-transition: all 2s ease;
-o-transition: all 2s ease;
transition: all 2s ease;
}
After that, scroll to the ‘Insertion’ box and select ‘Auto Insert.’ Then, open the ‘Location’ dropdown menu and choose ‘Site Wide Header.’
After that, you can go ahead and make the code snippet live using the same process described above.
Now, you can hover the mouse over any featured image to see the fade animation in action.
If you want to add even more image mouseover effects, then see our guide on how to add image hover effects in WordPress.
Bonus: Animate Any Image, Text, Button, and More
Fade effects are a fun way to make images more interesting, but there are lots more ways to use animations in WordPress. For example, you might use flipbox animations to reveal text when a visitor hovers over an image, or use zoom effects so users can explore a picture in more detail.
If you want to try different effects, then SeedProd has over 40 animations that you can add to images, text, buttons, videos, and more. You can even animate entire sections and columns with just a few clicks.
Inside the SeedProd editor, simply click on the content you want to animate, and then select the ‘Advanced’ tab in the left-hand menu.
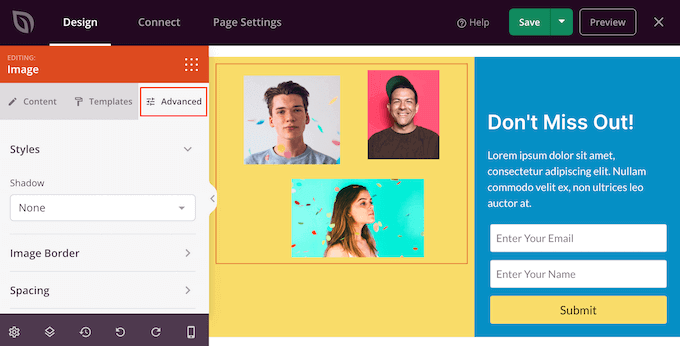
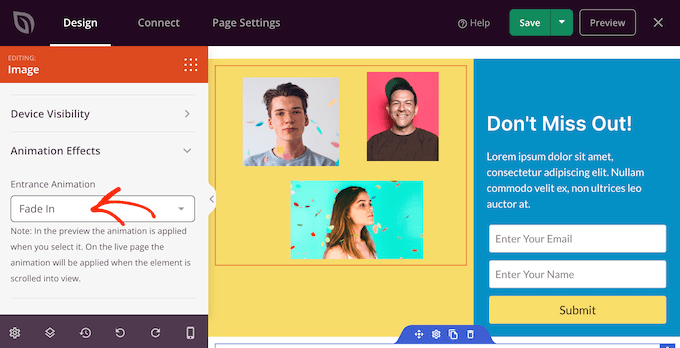
You can then go ahead and click to expand the ‘Animation Effects’ section.
After that, simply choose an animation from the ‘Entrance Animation’ dropdown, including a wide range of different fade effects.
For more information, please see our guide on how to create a landing page with WordPress.
We hope this article helped you learn how to fade images on mouseover in WordPress. You may also want to see our guide on how to choose the best web design software, and our expert picks of the best WordPress popup plugins.
If you liked this article, then please subscribe to our YouTube Channel for WordPress video tutorials. You can also find us on Twitter and Facebook.
The post How to Fade Images on Mouseover in WordPress (Simple & Easy) first appeared on WPBeginner.